Take your hacking experience to the next level
This guide will walk you through the essentials of setting up Kali Linux to suit your needs perfectly. We’ll cover everything from installing Kali on VirtualBox, optimizing your virtual environment, enhancing the interface with custom themes, to boosting your shell productivity with the Oh My Zsh tool. Let’s dive into transforming your Kali Linux into a powerful and personalized workstation for all your security tasks!.
Jump to Sections!
- Getting Kali Linux.
- Setting up the Kali Virtual Machine.
- Improving Default Settings.
- Installing Themes.
- Injecting steroids to the terminal.
Getting Kali
The simplest way to run Kali is by grabbing a pre-built image for your choice of virtualization software (VMWare/VirtualBox) visit: Official Kali Download Page

- Since I use Oracle’s VirtualBox, I’ll pick the VirtualBox64’s Pre Built Image
- The file will be installed as 7zip compressed version, you can use your Operating System’s inbuilt extraction tool, (or) if you’re on windows you can utilize winrar to unpack the archive.
- After installing and unpacking the Pre Built Image, launch the respective application for your Software.
- Below is a walkthrough of the steps mentioned above.
Tweak Virtual Machine Parameters
- This section can be helpful for those who dont use the Pre-Built Virtual Machines.
- For Standalone Kali VM Users*, you can setup shared clipboards, dragging and dropping between Host and Guest OS via installing Virutalbox Guest Additions and Extension pack, for which you can refer this guide (dont follow if using pre-built vm).
- And then we can make sure drag and drop is set to Bi-Directional and a couple of more things as demonstrated in the video
- Below is a video providing a walkthrough of the concepts mentioned above
Kali Settings
Now lets customize bare bone stuff
- Change your timezone and date format if you havent done so already
- Open up a terminal and run an update
sudo apt update
sudo apt upgrade -y- Note that running the upgrade command for the first time, would take around 10 mins(depending on your internet speed), and the later ‘Progress Bar’ section could take more than 10 minutes, depending on the power you have alotted to the Virtual Machine
- After the update, you should perform a reboot on the machine. make sure to always poweroff and not save.
Installing Themes
If you’re new to the concept of Desktop Environments, there’s no need to worry. Kali Linux comes equipped with the “Xfce” Desktop Environment by default, and you can find themes and customizations specifically for Xfce at XFCE-Look.org.
Should you decide to switch to GNOME, similar resources are available at GNOME-Look.org.
You’re free to choose any theme, cursor pack, or icon pack that suits your taste. For demonstration purposes in this video, I’ve featured several options. We’ll proceed with installing the WhiteSur theme, the Bibata cursor pack, and the Agave Nerd Font pack.
To bypass the typical 10-second download wait and provide easier access to these theme packs, I’ve hosted them on my personal cloud instance. You can access them via the link provided below:
Once you have downloaded the necessary theme packs, you’ll need to place them in the correct directories to ensure they work properly:
- Initialize folders
cd ~ && mkdir -p {.icons,.themes,.fonts}- Agave Font Pack: Move the Agave folder to
~/.fonts. This will make the font available system-wide. - Bibata Cursor Pack: Transfer the
Bibata-Modern-Icefolder to~/.iconsto set up your new cursor theme. - WhiteSur Theme: Place the
WhiteSur-Darkfolder in~/.themesto apply the stylish dark theme across your environment.
mv ~/Downloads/Agave ~/.fonts/mv ~/Downloads/Bibata-Modern-Ice ~/.icons/mv ~/Downloads/WhiteSur-Dark ~/.themes/- Refresh the font config*
fc-cache -fvThese steps will ensure that your theme packs are correctly implemented, giving your Kali Linux a fresh, personalized look, now you just need to set them up.
Powering up the Terminal
Unlike Ubuntu, Kali Linux comes with Zsh as its default shell. However, to truly unlock the full potential of your terminal, installing the Oh My Zsh plugin is a must. Oh My Zsh supercharges your Zsh environment with features like themes, plugins, and a vibrant community-driven collection of customizations that elevate your command line experience.
- To install Oh My Zsh, simply execute the following command in your terminal:
- This command fetches the install script from the Oh My Zsh repository and runs it directly, setting up Oh My Zsh on your system in minutes, make sure to answer each and every question it prompts for.
sh -c "$(curl -fsSL https://raw.github.com/robbyrussell/oh-my-zsh/master/tools/install.sh)"- Download and Install the powerline prompt (for aesthetics)
git clone https://github.com/romkatv/powerlevel10k.git \
$ZSH_CUSTOM/themes/powerlevel10k- Now use mousepad (gui text editor) or any other text editor of your choice to edit the
.zshrcfile
mousepad ~/.zshrc- Make sure that line number 11 of your .zshrc looks like this:
ZSH_THEME="powerlevel10k/powerlevel10k"* In case you mistakenly closed the terminal during the prompt setup, you can run `p10k configure` to restart the setup
Extras
In this secition, we’re looking at additional tools and utilities that can enhance your Kali Linux environment. These additions are not essential for basic functionality, but they significantly improve productivity, system monitoring, and even add a touch of fun to your terminal sessions. We’ll cover how to install and configure these programs, which range from advanced terminal applications that offer more robust features and customization options, to lighthearted software that brings a bit of personality to your command line. Whether you’re looking to streamline your workflow or simply enjoy some quirky terminal interaction, this section will provide you with everything you need to make your Kali Linux setup truly your own
sudo apt install terminator htop btop neofetch sl cmatrix -y- Use Terminator
Terminator is a terminal multiplexer that allows you to customize the CLI experience, along with intermediate features like splitting the terminal horizontally or vertically
- kali-undercover
Want to hide the fact that you’re hacking on kali linux? use this command to quickly switch to the Windows 10 Theme in XFCE
- Fetch weather information by querying
wttr.in
Parting Words
That’s just the beginning! With open source, the sky’s truly the limit. The possibilities for tweaking and customizing your Linux machine are virtually endless. Whether you’re refining the functionality, enhancing the aesthetics, or exploring new tools, the open source community continually develops and shares an astonishing array of options. Dive into this rich ecosystem and you might find yourself amazed at how much you can transform and optimize your Kali Linux experience
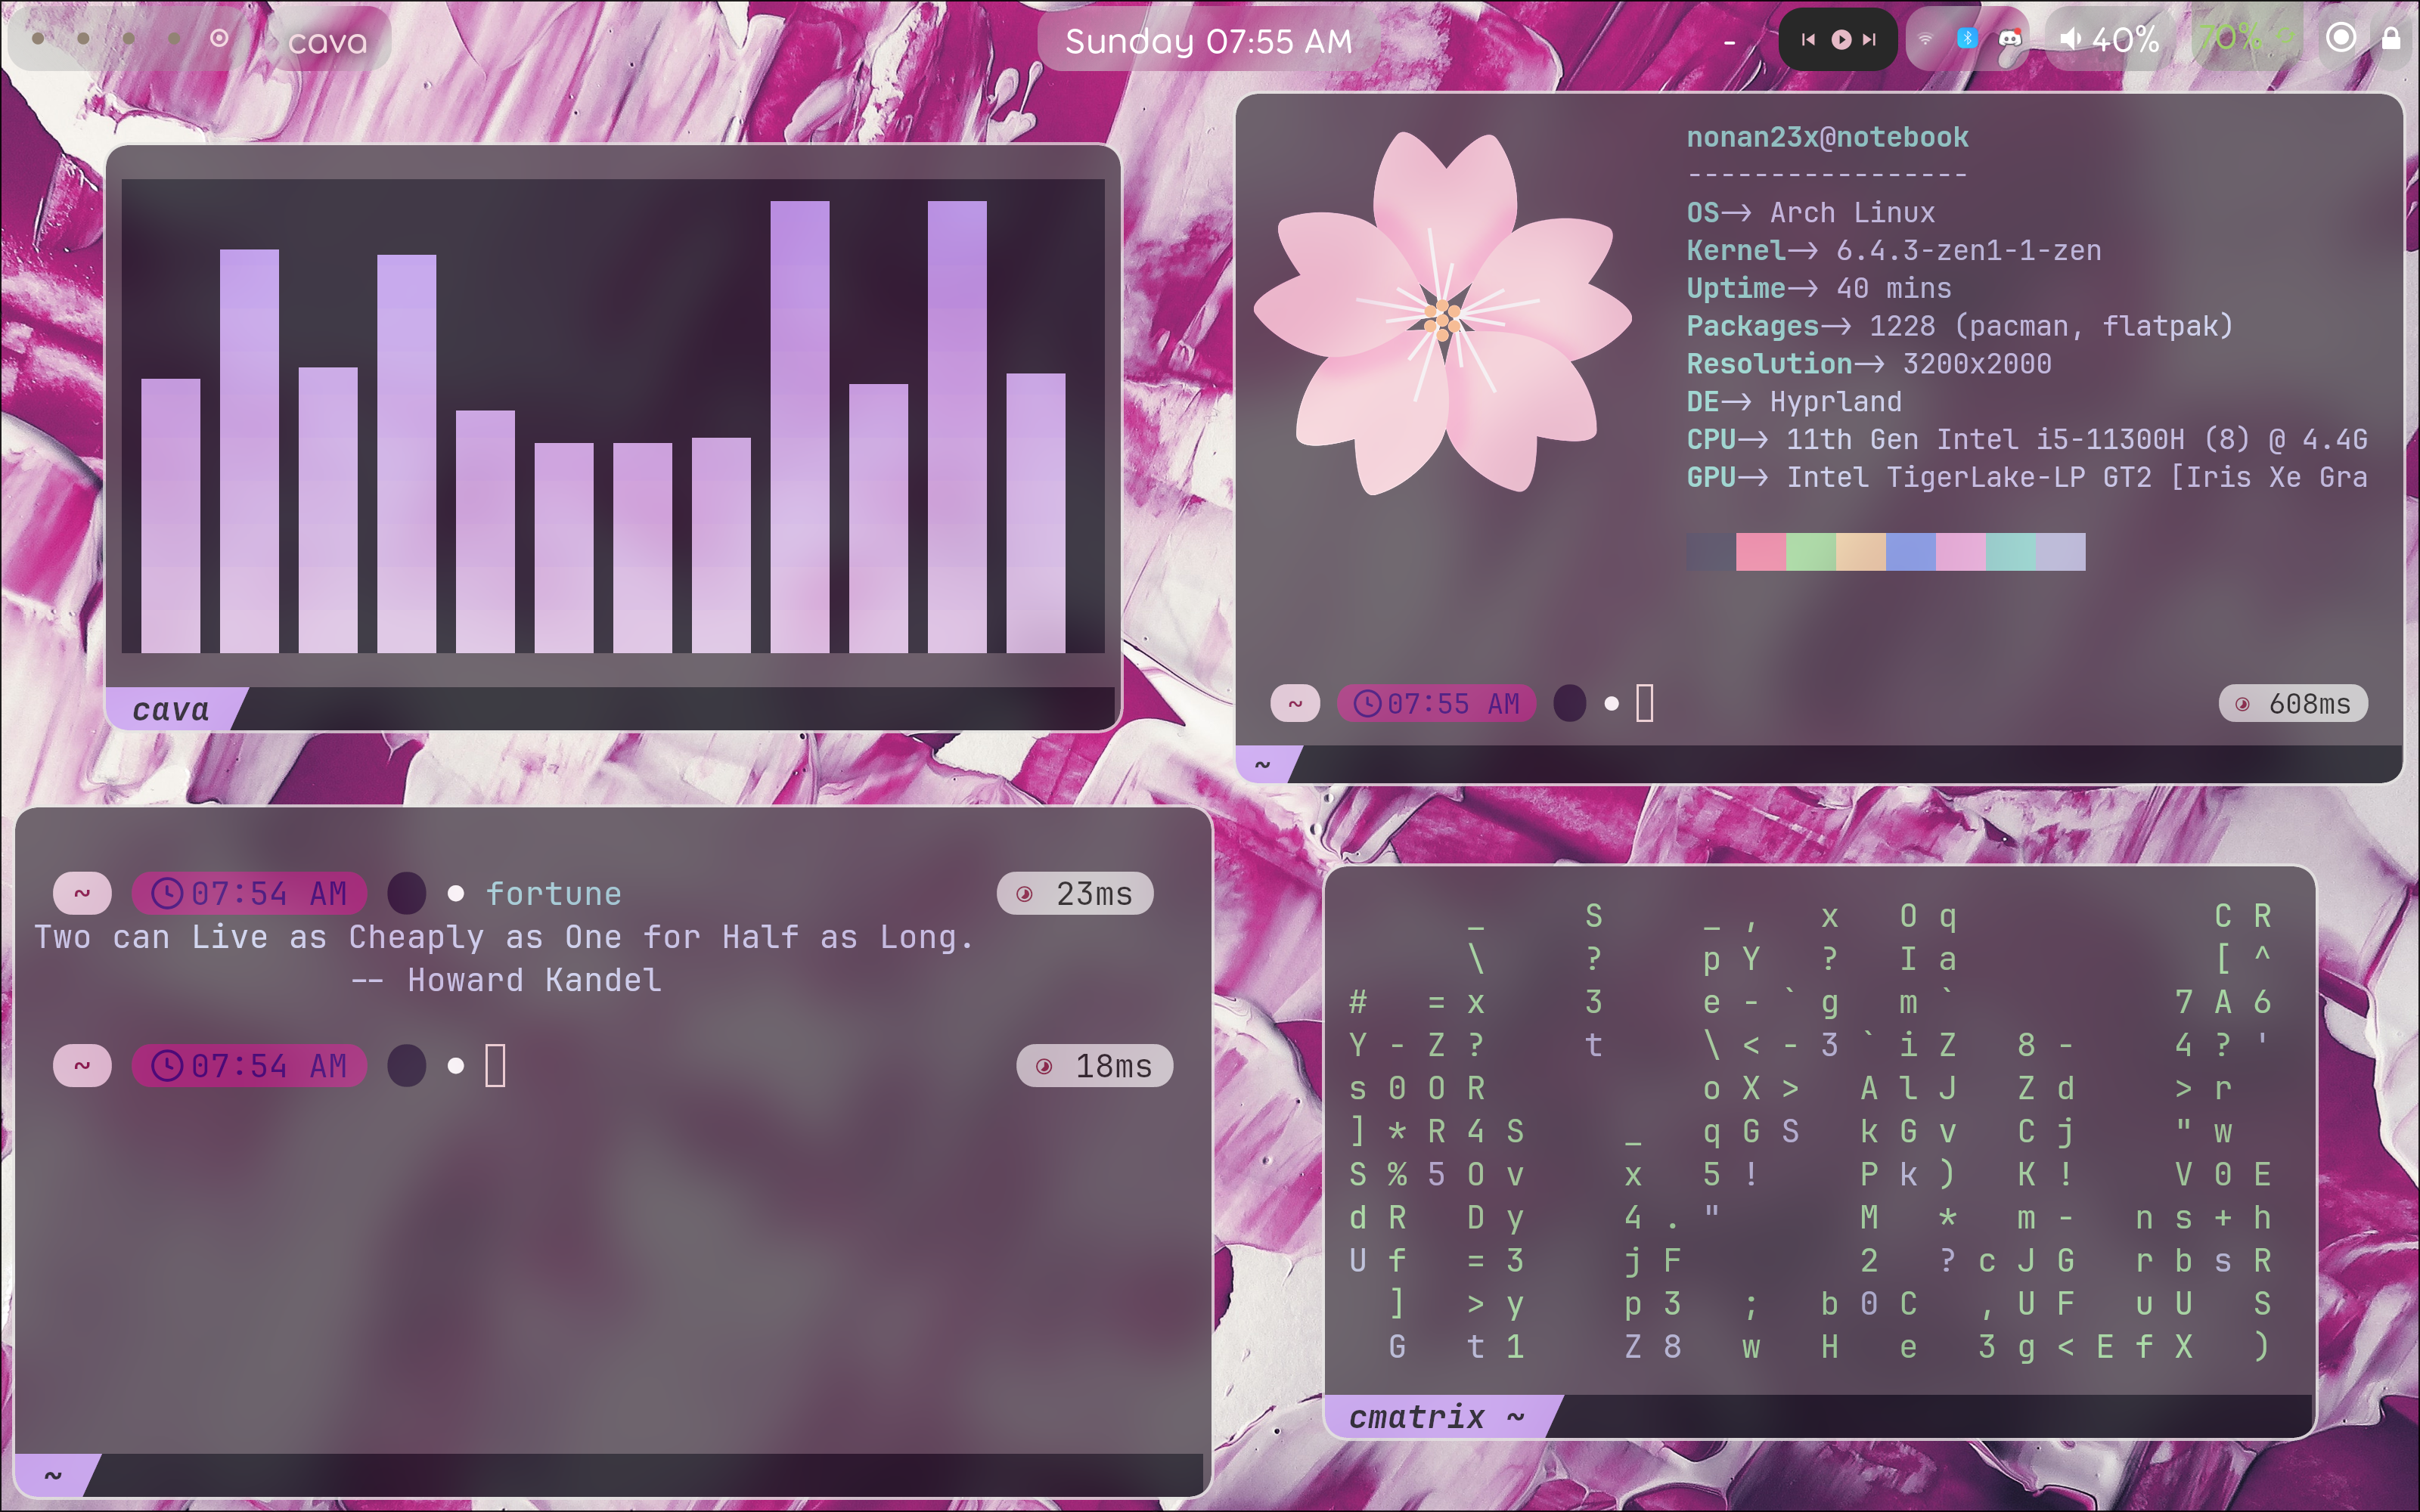
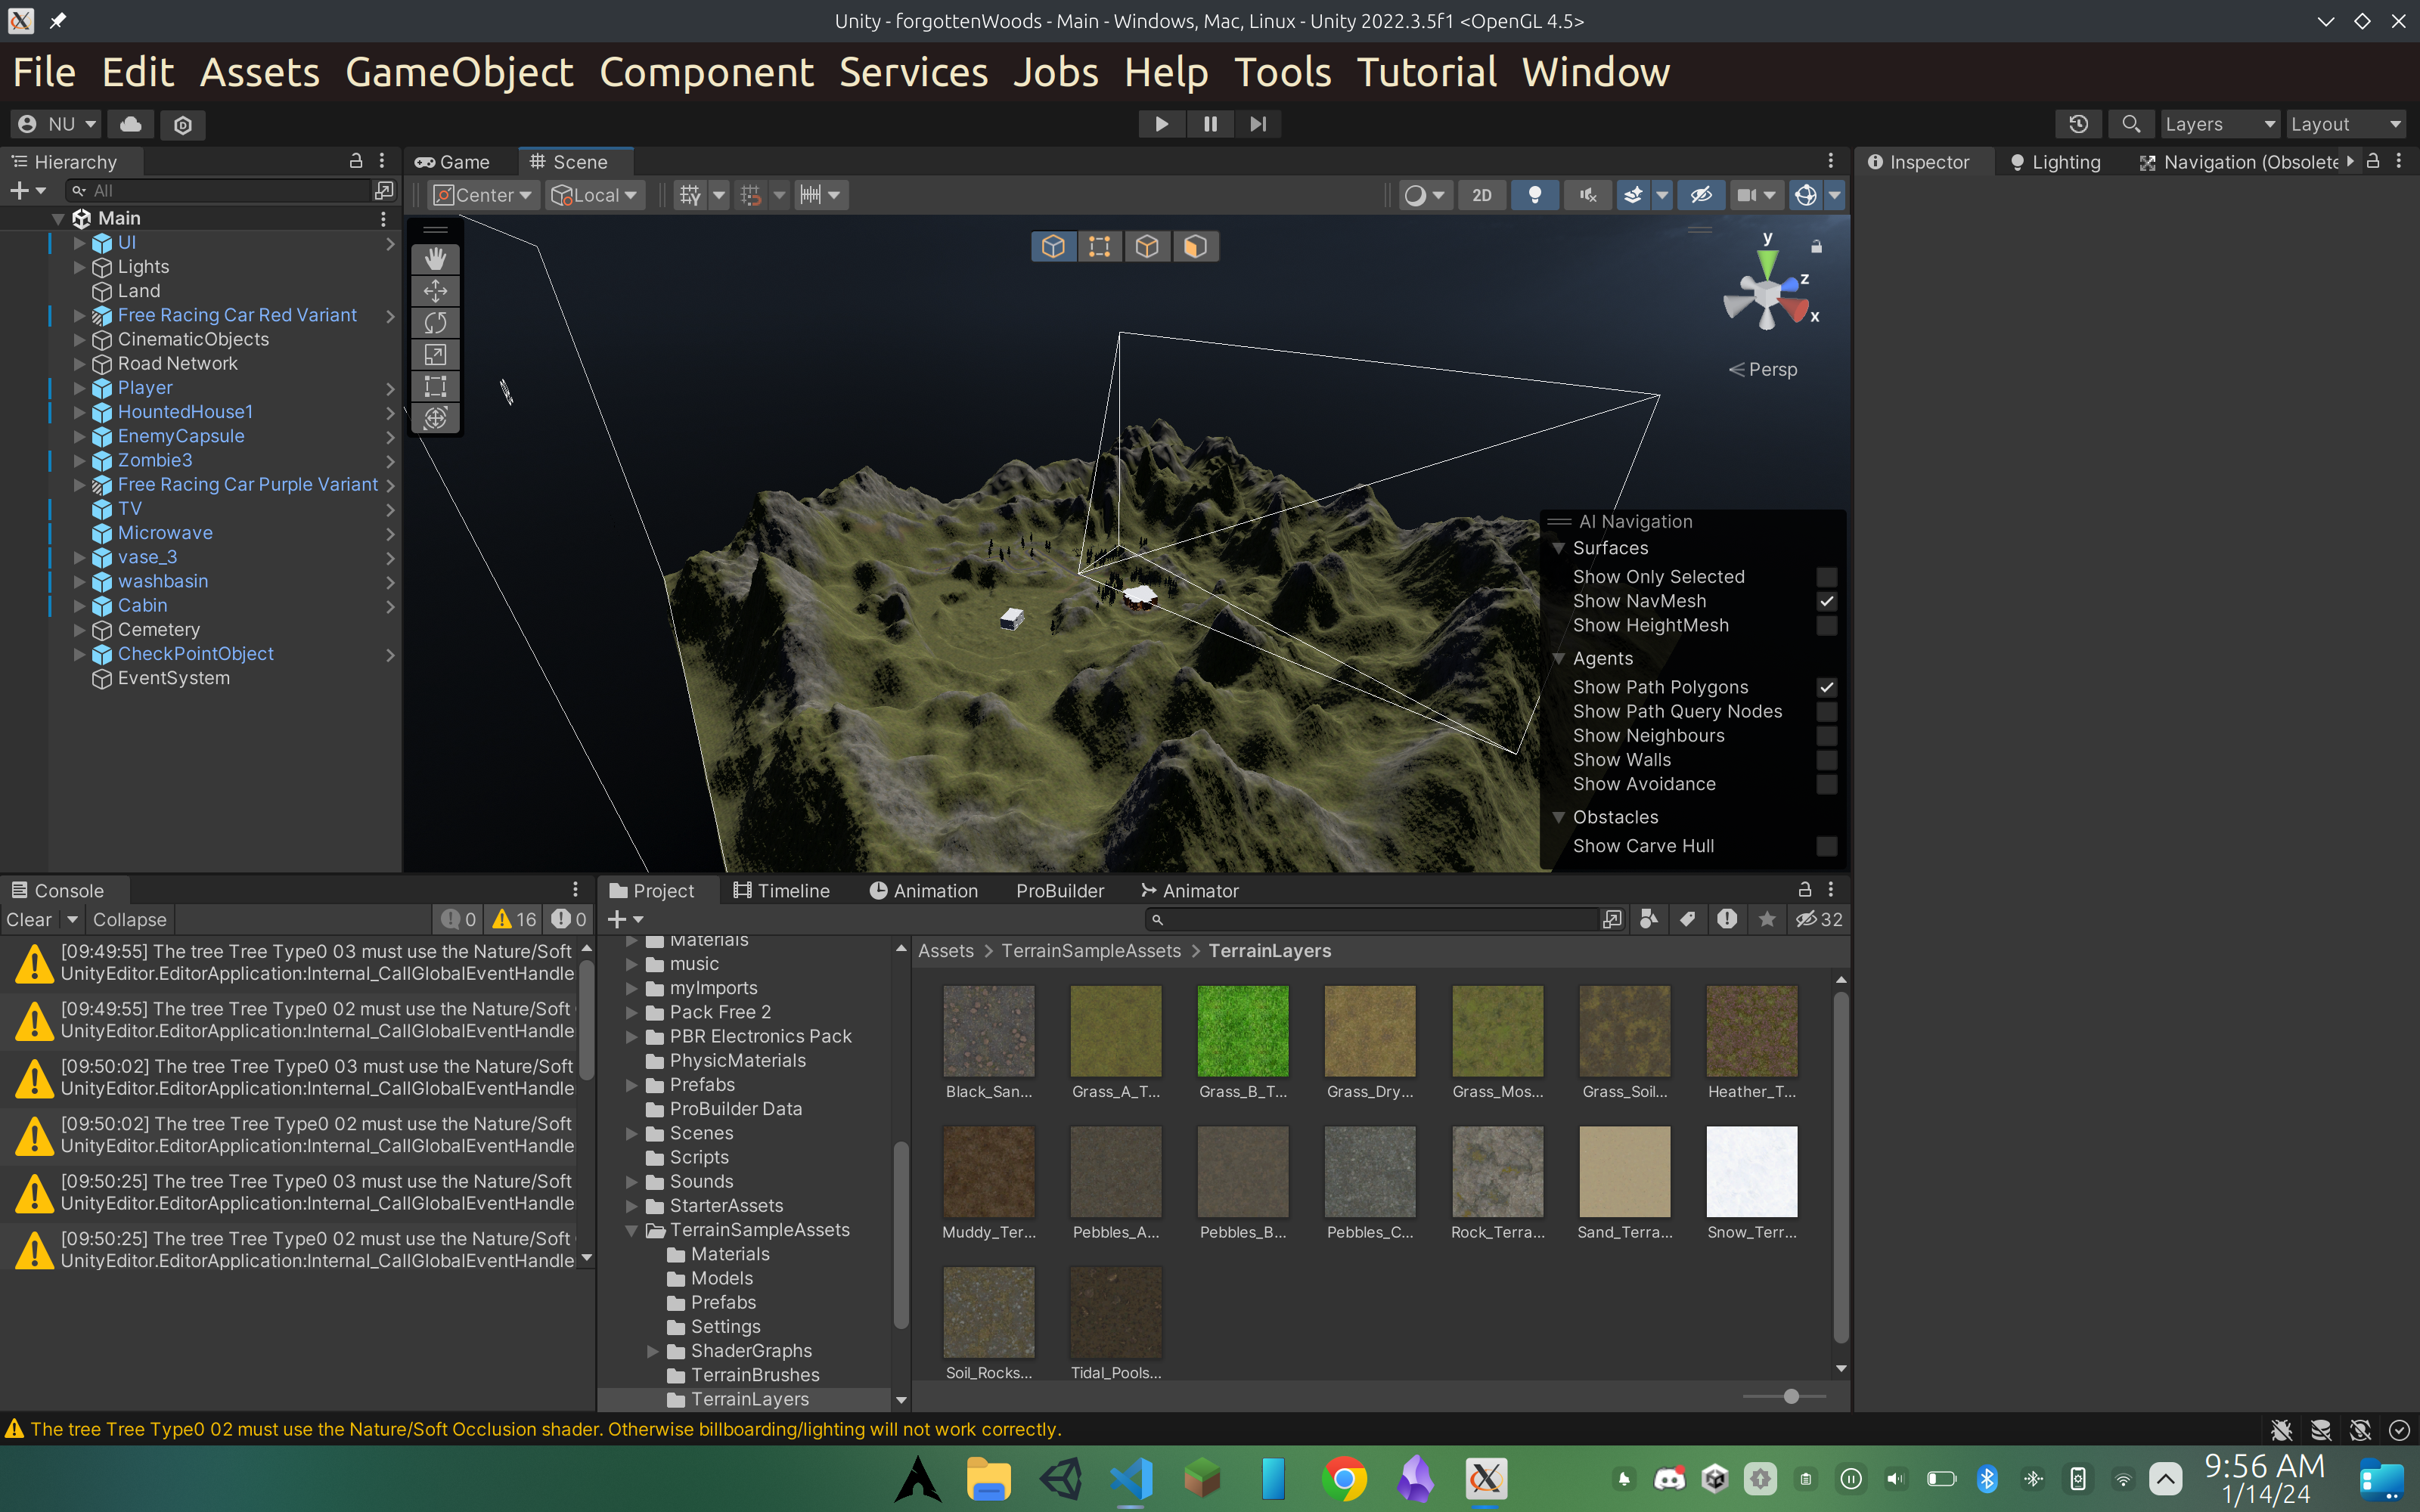
Here’s a typical screenshot of my workflow

Further Reading:
1. https://github.com/polybar/polybar
2. https://github.com/davatorium/rofi
3. https://www.reddit.com/r/unixporn/
4. https://github.com/i3/i3.git
5. https://www.xfce.org/


How long have you been blogging? Your blog design is amazing. You make it look so easy. Your website looks great overall, and the content is great as well.